
Yoosee App Guide: Every Main Setting Explained
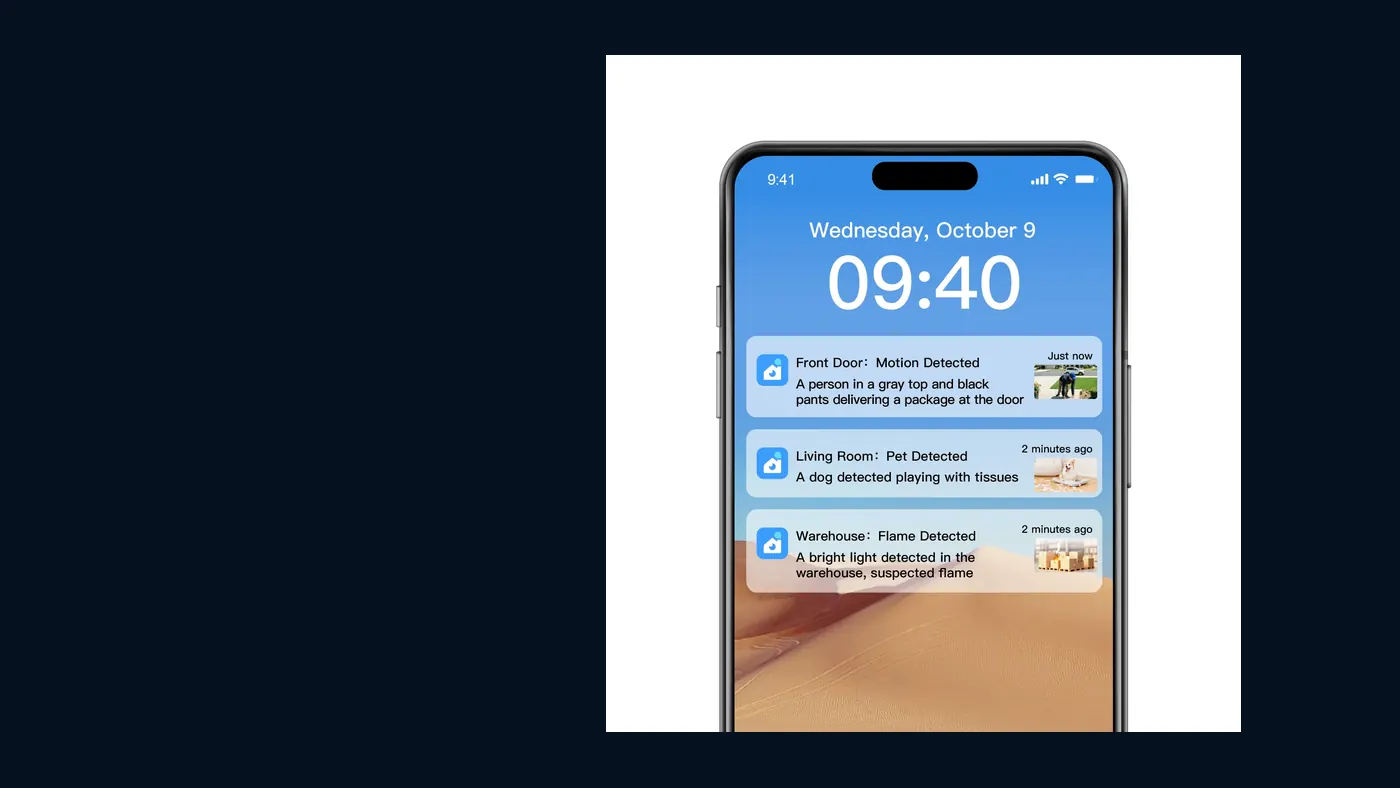
The Yoosee app is organised in layers: a device list on the home screen, a live view screen for each camera, a settings menu behind a gear icon, and an account area for your login and preferences. Most problems people blame on the camera turn out to be one setting in one of those layers. This guide walks through each menu in order, says what every main option does, and lists the handful you should change on the first day.
Menu names move around slightly between app versions, and some options only appear on certain camera models. If a setting described here is missing on your screen, it usually means your model does not support it, not that you are in the wrong place.
How the Yoosee application is laid out
Think of the app as four levels, from the outside in:
- Device list — every camera on your account, each shown as a card with a thumbnail and a status.
- Live view — what opens when you tap a camera card, with a toolbar for talkback, snapshots, recording and quality.
- Device settings — the gear icon on the card or inside live view. This is where recording, alarms, network and security live.
- Account and app settings — usually a "Me" or profile tab at the bottom of the home screen, covering your login, sharing and app-wide preferences.
If you have not added a camera yet, do that first; the pairing steps are covered here. If you are still working out how the app, the camera and the account relate to each other, this overview of how a Yoosee camera works explains the pieces before you start changing things.
The device list: reading the home screen
The home screen is more informative than it looks. Each camera card tells you three things.
- Online or offline status. An online camera shows a recent thumbnail and opens straight into live view. An offline one is greyed out or labelled offline. That label is about the camera reaching the internet, not about your phone — if every camera is offline at once, check your router first; if only one is, the problem is at that camera. The offline troubleshooting guide works through it step by step.
- The thumbnail. A snapshot from the last fetch, not a live feed. An old thumbnail on an online camera is normal.
- The name. Rename cameras by location ("Front gate", "Shop till") rather than leaving the default ID. When an alert arrives at night, a clear name tells you where to look without opening anything.
Pull down to refresh statuses. The plus icon adds another device, and on most versions a long press on the card gives rename, delete and share options.
Be careful with delete. Removing a camera from the list unbinds it from your account. To use it again you go back through pairing, and if someone else adds it in the meantime, it may end up bound to their account instead.
The live view screen and its toolbar
Tap a camera card and live view opens. The toolbar icons vary by model, but these are the common ones and what they mean.
- Quality switch (often labelled SD/HD or similar). The high-definition stream looks better but needs more upload speed from the camera's location. If live view keeps buffering on mobile data, drop to the lower stream. This only changes what you watch; it usually does not change what is recorded to the card.
- Speaker icon. Turns the camera's microphone audio on or off on your phone. If you hear nothing, check this before anything else, then check your phone volume. Not every model has a microphone.
- Microphone or talk button. Press, or press and hold depending on the version, to speak through the camera's speaker. The app needs microphone permission on your phone for this. If the button works but nobody hears you, the two-way audio checklist covers the usual causes.
- Snapshot. Saves a still image to your phone. The first time, the app will ask for photo or storage permission; say yes, or the snapshot may not be saved.
- Manual record. Records what you are watching to your phone, separately from the camera's own recording. Useful for capturing something as it happens.
- Pan and tilt controls. On models with a motor, swipe on the picture or use the on-screen arrows to turn the camera. Fixed cameras simply do not show these.
- Playback. Jumps to recorded footage on the camera's memory card. Reading the playback timeline is explained in its own guide.
- Full screen. Rotate the phone or tap the expand icon. Pinch to zoom digitally.
A tip that saves frustration: if live view is black but the camera shows online, close live view, wait a moment and open it again. If that fails, switch the quality down. A picture that loads on the lower stream but not the higher one points to a weak connection at the camera's end, not a fault.
Device settings: the gear icon, menu by menu
This is where the important decisions are. Open it from the gear on the camera card or inside live view. The order below follows a typical layout; yours may group things differently.
Device information
Shows the camera's ID, firmware version and sometimes its network details. Note the device ID somewhere safe. You will need it if you ever contact the seller, and it helps confirm which physical camera matches which card when you have several of the same model.
Time and time zone
Set the correct time zone and turn on automatic time sync if offered. This matters more than it seems. If the clock is wrong, recordings land at the wrong place on the playback timeline, and when you need footage from a specific hour you will be searching in the wrong spot. Check it again after a long power cut.
Media or video settings
Common options here include video quality for recording, picture orientation (flip or mirror, for cameras mounted upside down), and sometimes a power line frequency setting that removes flicker under certain indoor lights. Some models also have a night vision mode: automatic, always on or always off. Leave it on automatic unless you have a reason; a camera stuck in day mode is blind at night. If night footage is blurry rather than dark, the night picture guide explains why.
Record settings
This decides what goes onto the memory card. You will usually see:
- Recording mode — continuous (records all the time), alarm or motion recording (records only when something triggers), or scheduled. Continuous fills the card faster and loops over the oldest footage once full. Motion recording keeps a longer history but only captures events.
- Recording switch — on some versions recording can be turned off entirely. Make sure it is on.
There is no single answer to "how many days will my card hold". It depends on card size, resolution, recording mode and how busy the scene is. A practical way to find out: after a few days, open playback and see how far back the oldest footage goes. If recordings are missing altogether, the memory card recording guide covers the checks.
Storage information
Shows whether a card is detected, its capacity and remaining space, and offers a format option. Format a new card here before relying on it, and format again if playback starts showing errors. Formatting erases everything on the card, so export any clip you want to keep first.
Alarm settings
This is the menu behind every motion alert you receive:
- Motion detection on or off — the master switch. Off means no motion alerts and, on many models, no motion recording either.
- Sensitivity — higher catches smaller movements but also leaves, shadows and insects at night. Start in the middle and adjust after a few days of real alerts.
- Push notifications or alarm messages — whether the camera sends alerts to the app at all.
- Detection area or human detection — on models that support it, limits alerts to a region of the picture or to people. Draw the area to exclude a busy road or a tree that moves in the wind.
- Siren or light — some cameras can sound a buzzer or flash a light when triggered. Test it once so it does not surprise you or your neighbours.
- Alarm schedule — on some versions you can limit alerts to certain hours, for example only at night.
If alerts do not arrive even with everything here switched on, the cause is usually on the phone side. The notifications fix guide goes through phone permissions and battery limits layer by layer.
Network settings
Shows the WiFi the camera is on and lets you switch networks on some models. On most cameras changing to a new router means running the pairing process again rather than editing a field here. Most Yoosee models connect to 2.4 GHz WiFi only; check the label or manual for your model before changing routers.
Security settings
Here you change the device password — the password on the camera itself, which is different from your account login. Change it from any default on day one. If you have lost it, the forgotten password guide explains which password is which and how to recover.
Firmware update
When the app offers an update, install it while the camera is on a stable connection and do not unplug it until it finishes and reboots.
Account and app settings
The profile or "Me" tab holds things that apply to the whole app, not one camera.
- Your account identifier. Note whether you registered with a phone number or an email. Signing in with the other one creates a second, empty account — a common reason someone "loses" all their cameras.
- Sharing and visitors. Shows who you have shared cameras with and lets you withdraw access. If family or staff need to watch, share the camera to their own accounts rather than handing out your password.
- Notification preferences. Some versions have an app-wide alert switch or do-not-disturb option on top of each camera's alarm settings. If one camera alerts and another does not, compare both levels.
- Cloud options. Some models and regions offer cloud storage as an optional service. What is available, and on what terms, depends on your model and region, so read the details shown in your own app before relying on it. The memory card in the camera works without it.
- Log out and app version. The version number is useful when comparing your screens with instructions or asking for help.
What to change on day one
If you do nothing else, go through this short list for each new camera:
- Rename the camera by location.
- Change the device password from any default.
- Set the time zone and turn on automatic time.
- Insert and format a memory card, then confirm it shows as detected in storage information.
- Choose a recording mode and confirm recording is switched on.
- Turn on motion detection, set sensitivity to middle, and turn on push alerts.
- Allow the app's notification permission on your phone, and exclude it from battery optimisation on Android.
- Walk in front of the camera and confirm an alert arrives and the clip shows in playback.
- Share access to anyone else who needs it, instead of sharing your login.
Step eight is the one people skip, and it is the only one that proves the whole chain works. If you are mounting the camera high up, do this test on the ground first. For any installation involving mains wiring, a ladder or a roof, switch off the power and use a qualified electrician where the work needs one.
When to get help
Settings will not fix everything. Contact the seller or the manufacturer's support channel listed for your model when:
- The camera stays offline after you have restarted it and the router and re-paired it next to the router.
- The memory card is never detected, even after trying a second card you know works.
- A firmware update was interrupted and the camera no longer boots.
- The camera is bound to someone else's account and you cannot reach the previous owner.
Have the device ID, the app version and a list of what you have already tried.
Frequently asked questions
Is the Yoosee app free to download?
The app itself is a free download from Google Play and the App Store. Live viewing and playback from the camera's own memory card normally work without a subscription. Any optional paid services, such as cloud storage, depend on your model and region, so check the details shown in your app.
Why do some settings appear on my camera but not on my friend's?
The app shows only the options the connected camera supports. A model with a motor shows pan and tilt controls; a fixed one does not. Firmware and app versions also add or move options, so two cameras in the same app can show different menus.
Do changes in the app save to the camera or to my phone?
Device settings, such as recording mode, alarm sensitivity and the device password, are generally stored on the camera, which is why they normally stay the same when you sign in on another phone. App-level preferences and snapshots you save are stored on the phone you used.
Can I use the Yoosee camera app on a tablet?
Yes, the same app installs on most Android and iOS tablets and you sign in with the same account. Live view on the larger screen is the main benefit. For alerts, keep a phone signed in as well, since tablets are often left asleep or offline.
Will resetting the app or reinstalling it change my camera settings?
Normally not. Reinstalling the app and signing back in with the same account restores your camera list, and the device settings stay on each camera. Only a factory reset of the camera itself clears its settings, and then you need to pair it again.