
Solar security camera not charging: how to find the real cause
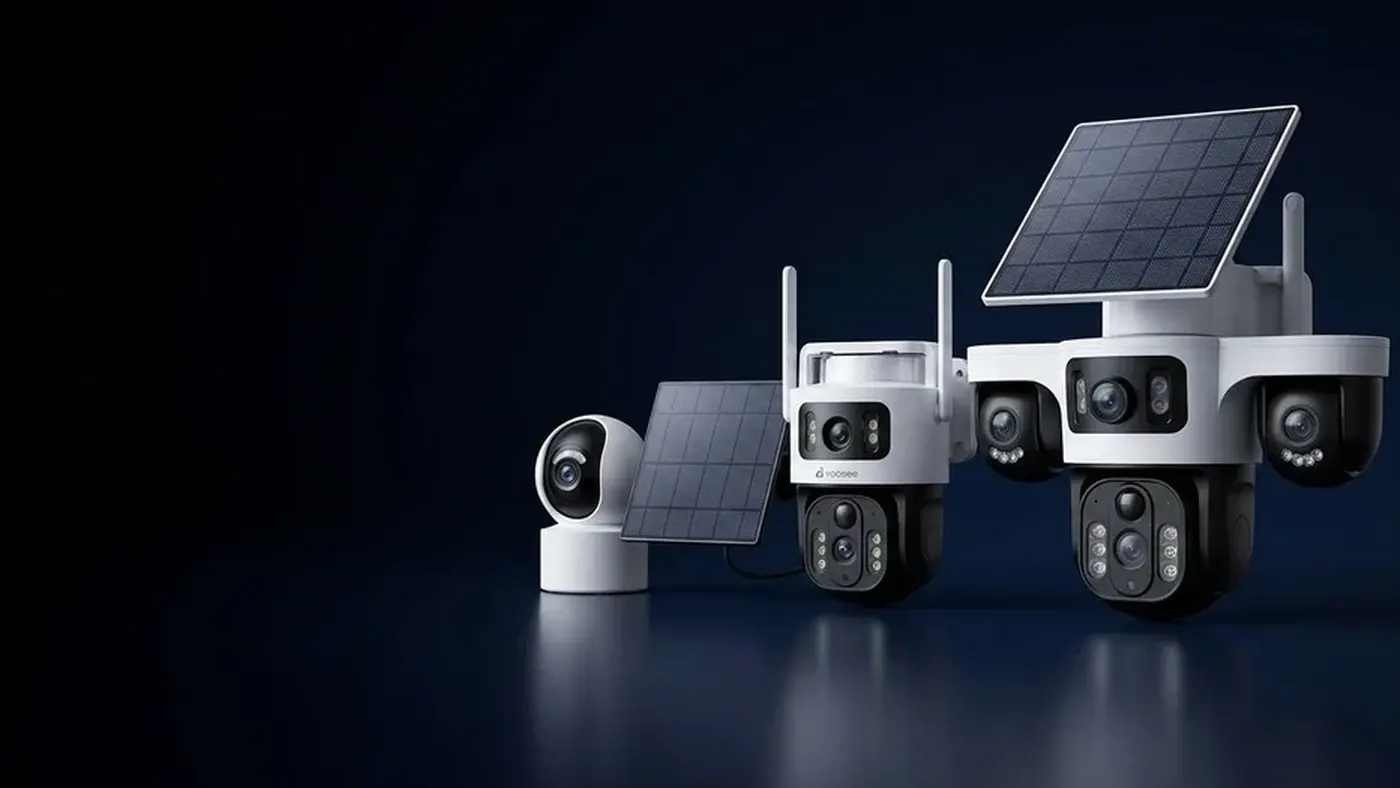
When the battery level never climbs — or creeps up one point and slides back down the same afternoon — the fault is in one of three places, and each needs a different repair. Either the power never reaches the camera (a cable, connector or port problem), the panel is not generating enough (shading, angle, dirt, or a genuinely dark stretch of weather), or the battery no longer holds what it takes in (age, heat, or cold).
Check them in that order. The cable is free to test and fixes a surprising share of cases; a new panel is the expensive guess people jump to first, and it does nothing for a plug that is half seated.
One thing to settle before you start: charging behaviour, what your app shows, and whether the battery can be replaced at all differ from model to model. Nothing below can tell you what your particular unit supports — the manual in the box and the shop you bought from can.
Step zero: prove it is actually not charging
"Not charging" and "not lasting" are different faults with different fixes, and the app makes them easy to confuse.
Take a reading at a fixed time in the morning and another in the late afternoon on a clear day, with the camera left alone in between — no live viewing, no talking through it, no walking past it fifty times. If the number went up, the panel is working and your problem is consumption, not charging. That belongs to a different article: how long a solar camera battery should last and what drains it.
If the number is flat or falling on a clear day with the camera idle, you have a real charging fault. Keep going.
Two readings that look like faults but are not:
- A battery that sits at full and refuses to move. That is correct behaviour. A charge controller stops feeding a full cell.
- A percentage that jumps around. Battery gauges estimate from voltage, and voltage sags under load. A number that dips while the camera streams and recovers afterwards is normal.
Layer 1: the cable, the connector and the port
This is first because it is the most common and costs nothing to check.
Unplug and reseat both ends. The barrel plugs used on most panels seat with very little friction. A cable that was fine at installation can be pulled a millimetre loose by its own weight, by wind, or by someone trimming a hedge. Push firmly until it stops, then tug gently to confirm it holds.
Look inside both connectors with a torch. You are looking for green or white crust, insects, a bent centre pin, or a rubber gasket that has slipped out of its groove. Outdoor connectors fail from water far more often than from electrical wear. If there is corrosion, the joint is finished even if it still looks connected — clean contacts do not turn green.
Run the cable end to end with your hand. Check the bend where it leaves the panel, the point where it enters a wall or clip, and anywhere it crosses a sharp edge. Squirrels, rats and strimmers all cut solar cables, and the cut is often on the underside where you cannot see it from the ground.
Check the drip loop. The cable should dip below the connector before rising into it, so rain runs off the low point instead of down the cable into the socket. A cable that runs straight downhill into the camera is delivering water to the port every time it rains.
Then test with a different power source if your model allows it. Many battery cameras also charge over a standard cable indoors. If the camera charges happily indoors from mains but not outdoors from the panel, you have narrowed the fault to the panel or its cable and eliminated both the battery and the camera's charging circuit. That is the single most useful test in this article.
If you own a multimeter, measure the panel's output at the connector in direct sun and compare it against the figure printed on the panel's own label. A panel producing nothing in full sun is dead; a panel producing far below its label in full sun usually has a shading or wiring problem rather than a manufacturing one.
Layer 2: the light the panel is actually receiving
Panels are rated in laboratory conditions that your roof does not reproduce. Real output falls away fast with anything less than clean, direct, perpendicular sun.
Partial shade costs more than it looks
A branch shadow crossing a corner of the panel for part of the day is not a small loss. Depending on how the cells are wired, shading a fraction of the panel can drag down output well beyond that fraction. The awkward part is timing: you inspect the panel at noon, it is in full sun, and you conclude shading is not the issue — when in fact a chimney covers it every morning and a tree covers it every afternoon.
Check the panel three times in one day — early, midday, late — or photograph it from a window at those times. That is the only reliable way to see the shadow pattern.
The seasons move the sun, and plants grow
An installation that charged fine in July can stop charging in November without anything breaking. The sun tracks lower, the days are shorter, and the roofline that never mattered now shades the panel for hours. Trees do the same thing on a slower clock: a sapling that was below the panel two summers ago is now above it.
If the camera charged for months and then stopped as the season turned, this is your most likely cause — and the fix is to move or re-angle the panel rather than replace anything. Where to put it and at what angle is covered in choosing the mounting spot and tilt for a solar panel.
Dirt, film and dead leaves
Dust, pollen, salt spray, bird droppings and a film of traffic grime all cut output, and they build up so gradually that the decline never has a start date. Clean the panel with water and a soft cloth. Avoid solvents and abrasive pads, which haze the surface permanently.
Panels laid flat collect the most dirt because rain pools rather than runs off. A tilted panel largely cleans itself.
Genuinely dark weather
A long run of heavy overcast, monsoon rain, or short winter days can put a correctly installed system into deficit. That is a design problem, not a defect, and it is addressed separately in what solar cameras actually do in cloudy weather.
Layer 3: the battery itself
If power reaches the camera and the panel sees good sun, look at the cell.
Age. Rechargeable batteries lose capacity with every cycle. The symptom is characteristic: the camera still charges, still reaches full, but full does not last as long as it used to, and the level collapses under any real activity. A battery that goes from full to empty in a single night while barely being used is a strong candidate.
Heat. A camera in direct sun on a south-facing wall in summer can get hot enough that its controller pauses charging to protect the cell. Sustained heat also ages a battery faster than normal use does. If charging stalls in the afternoon and resumes in the evening, temperature is the likeliest explanation — shade the camera body while leaving the panel in the sun.
Cold. Charging a lithium cell below freezing is harmful, so many controllers simply refuse. A camera that stops charging in a hard frost and recovers in a thaw is behaving correctly.
Whether you can replace the battery is model-dependent. Some units have a serviceable pack, some are sealed. Do not prise open a housing to find out — you will destroy its weather seal and probably its warranty. Ask the seller, with your exact model number to hand.
Before you contact the seller or claim warranty
Collect these first. It shortens the conversation and it stops you being sent a replacement panel for a battery problem:
- The exact model number from the label on the camera body.
- Two battery readings taken on the same clear day, morning and afternoon, with times.
- Whether the camera charges indoors from a standard cable, if your model supports that.
- Photographs of both connectors and of the panel in place.
- When it last worked properly, and what changed around then — a season, a storm, new building work, a pruned or grown tree.
If the camera has also fallen out of the app entirely, note that a flat battery and a network fault look identical from the app's side; work through why a camera shows as offline before assuming the hardware is dead.
Frequently asked questions
Why is my solar camera battery not increasing even in full sun?
Most often the panel's power is not reaching the camera. Reseat both ends of the cable, inspect the connectors for corrosion or a bent pin, and check the whole cable run for damage. If your model can also charge from a standard indoor cable, try that: charging indoors but not outdoors points squarely at the panel or its cable, and rules out the battery.
How do I tell whether the panel or the battery is at fault?
Charge the camera indoors from mains if your model allows it. If it charges to full and holds that charge overnight, the battery and charging circuit are fine and the panel side is the problem. If it charges indoors but drains again within hours with the camera idle, the battery is the suspect.
My solar camera dies overnight — is that a charging fault?
Not necessarily. If the level climbs during the day, charging works and the issue is consumption or capacity. Heavy night-time activity with infrared and a spotlight running, frequent live viewing, and an aging battery all produce overnight death on a system that charges normally.
Can I plug a solar camera into a normal charger instead?
On many models yes, and it is a useful diagnostic even if you do not intend to power it that way permanently. Use the cable and adaptor specified for your model rather than any charger that fits — whether continuous mains power is supported at all varies by model, so confirm with the manual or the seller.
Does a dirty or shaded panel really stop charging completely?
It can. Shade over even part of a panel can cut output far more than the shaded area suggests, and a film of dust or pollen removes more than people expect. Check the panel early, at midday and late in the day, because the shadow that stops it charging may be gone by the time you go outside to look.
Fitting solar cameras for customers?
Installers see these three failures constantly, and most of them are decided at installation — the drip loop, the tilt, and the shadow that only appears in winter. If you install or resell security cameras and want to work with the range directly, see the Yoosee distribution and partnership programme.