
Sizing a Solar Panel With Battery for a Security Camera
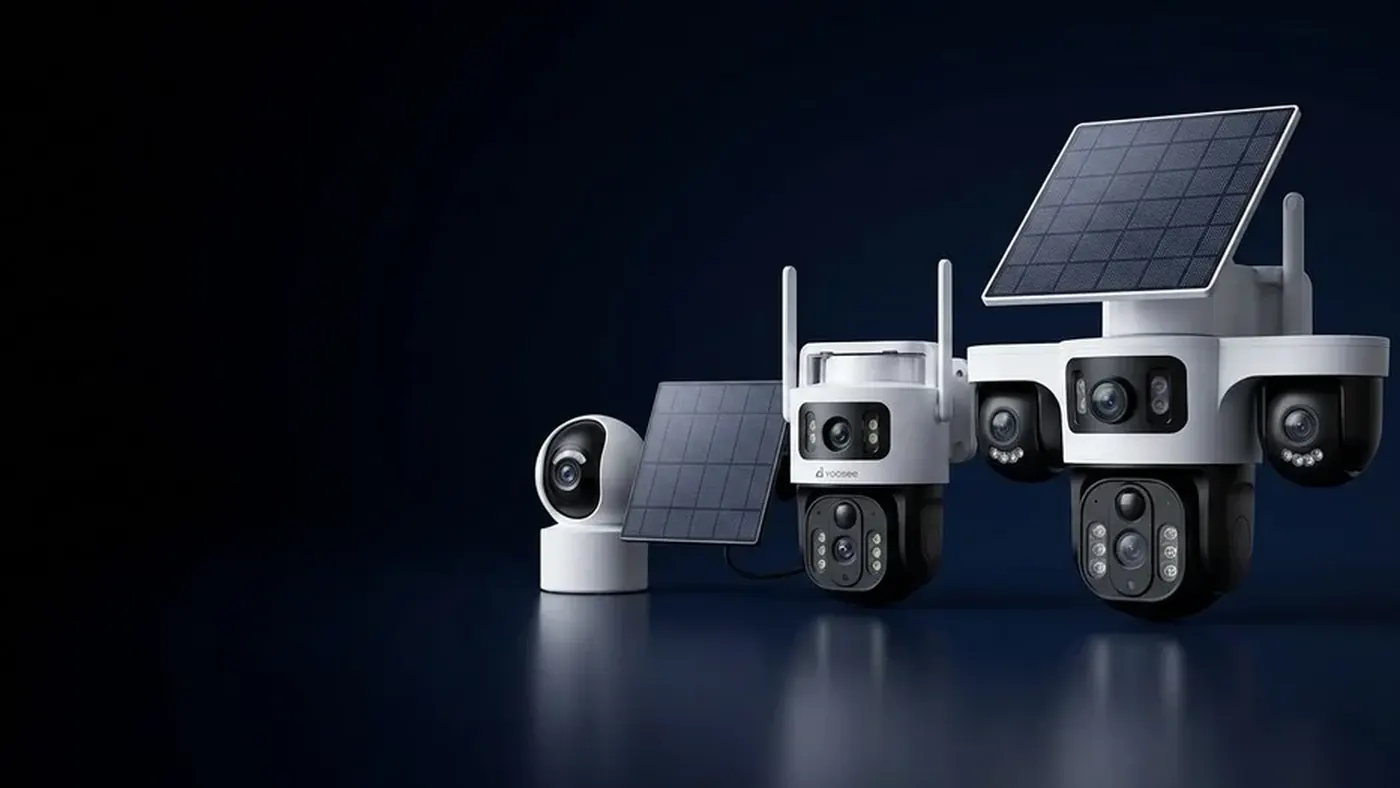
To choose a solar panel with battery for security camera use, work backwards from the camera: find how much energy it uses in a day, size the battery to carry that through your longest run of dull days, then size the panel so it can refill the battery during a short winter day while still running the camera. Get the order right and the numbers follow; buy a panel first and guess, and the system usually dies in the first cloudy week.
This article is for people powering a normal plug-in or 12V camera from a separate solar kit — a farm gate, a site office, a pole in a field. Cameras that come with a small panel and battery built in are designed differently, and are covered at the end.
Step 1: Find out what your camera actually draws
Everything depends on this number, so do not guess it from a product photo.
- Read the label on the camera or its power adapter. Most cameras list an input such as "12V 1A" or "DC 5V 2A". Volts multiplied by amps gives the maximum watts the adapter can supply. That is a ceiling, not the real draw — but it is a safe starting point.
- Check the manual for power consumption. Many manuals list a typical and a maximum figure in watts. The maximum usually applies at night, when the infrared lights are on, or when a pan-tilt model is moving.
- Measure it if you can. A cheap plug-in power meter between the wall socket and the adapter shows the real draw. Note the figure in daylight and again at night with the infrared on.
- Add everything else on the battery. If the site has no WiFi, a 4G router or a 4G camera's modem also uses power, often around the clock. Include it.
Then convert to watt-hours per day: watts multiplied by the hours the device runs. A camera that records continuously runs 24 hours a day. Use the night figure for the night hours if it is higher.
Step 2: Prefer a 12V camera over a mains camera
If your camera runs on 220V or 110V mains through its own adapter, a solar kit has to turn battery DC into AC with an inverter, and then the camera's adapter turns it back into low-voltage DC. Each conversion wastes energy, and many inverters draw power even when the load is small.
In practice:
- A camera that takes 12V DC directly can be fed from the charge controller's load output or a 12V outlet. This is the simplest and most efficient setup. Check that the load output's current rating covers the camera, and that the camera's label accepts the voltage swing of a 12V battery system, which runs somewhat above and below 12V as the battery charges and drains.
- A camera with a 5V USB input can run from a 12V-to-USB converter, which wastes far less than an inverter.
- A mains-only camera works, but plan for extra losses and the inverter's own idle draw. Check the inverter's specification for its no-load consumption and add it to your daily total.
If you have not bought the camera yet, choosing one with a low-voltage DC input makes the whole solar system smaller.
Step 3: Work out your daily energy, with a margin
Real systems lose energy in cables, in the controller and in charging the battery. Add a margin to your daily figure rather than sizing to the exact number.
Worked example (assumptions stated — replace them with your own figures):
- Camera measured at about 4 W by day and 6 W at night with infrared, running 12 hours of each.
- Daytime: 4 W × 12 h = 48 Wh. Night: 6 W × 12 h = 72 Wh. Total: 120 Wh per day.
- No 4G router in this example (the camera is on a nearby WiFi network).
- Add a quarter for losses: 120 × 1.25 = 150 Wh per day.
So in this example the system must supply roughly 150 Wh every day, sunny or not. Your camera may use much less or much more; the method is what matters.
Step 4: Size the battery for your dark days
The battery does the real work. The panel only refills it. Two questions decide its size:
How many days with almost no sun must it cover? This is called autonomy. In a sunny climate a couple of days may be enough; in a monsoon season or a northern winter you may want several. Think about the longest grey spell you remember at that site, not the average week. The article on whether solar cameras work in cloudy weather explains why overcast days still give some charge, but sizing as if they give nothing keeps you safe.
How deeply can the battery be emptied? Different battery types tolerate different depths of discharge:
- Lead-acid and AGM batteries last much longer if you only use about half their rated capacity before recharging. Draining them flat regularly shortens their life sharply.
- Lithium iron phosphate (LiFePO4) batteries can use most of their rated capacity and handle daily cycling well, but cost more up front and need a charge controller set for lithium. Many also stop charging below freezing — check the datasheet if your site gets cold.
Continuing the worked example:
- Daily need 150 Wh, three days of autonomy: 150 × 3 = 450 Wh usable.
- With lead-acid used to about half: 450 × 2 = 900 Wh rated. At 12V that is 900 ÷ 12 = 75 Ah, so you would look at a battery of roughly that size or the next one up.
- With LiFePO4, assuming you allow most but not all of the capacity: around 550 to 600 Wh rated, roughly 45 to 50 Ah at 12V.
Write down your result in watt-hours and in amp-hours at your system voltage. Battery labels use amp-hours, so you need both.
Step 5: Size the panel for a short winter day
The panel has to do two jobs on a sunny day: run the camera, and put back what the battery lost during the last dull spell. That is why panels for a solar power camera system look oversized compared with the camera.
- Find your peak sun hours for the worst month. This is the number of hours of full-strength sun your location gets per day, averaged out. It is lowest in winter or in the rainy season. Public solar maps and weather services give this for your area; use the low-month value, not the yearly average.
- Divide daily energy by peak sun hours. This gives the minimum panel size just to keep up.
- Multiply by a recovery factor. Something between 1.5 and 2 lets the battery recover from a dark spell within a few good days instead of never catching up.
Worked example, continued:
- Assume 3 peak sun hours in the worst month (check your own location).
- 150 Wh ÷ 3 h = 50 W just to break even.
- With a recovery factor of about 1.5 to 2: a panel of roughly 75 to 100 W.
Panel ratings are measured in ideal test conditions. Heat, dust and a less-than-perfect angle all reduce real output, which is another reason not to size to the bare minimum.
Step 6: Pick the controller, cables and fuses
A cctv solar power system needs more than a panel and a battery wired together.
- Charge controller. It sits between panel and battery, stops overcharging, and on most models switches the load off when the battery is nearly empty, which protects it. MPPT controllers can harvest more from the same panel, especially in cold weather or when the panel's voltage is well above the battery's; PWM controllers are cheaper and fine for small systems. Match the controller's battery type setting (lead-acid, AGM or lithium) to your battery.
- Low-voltage disconnect. Make sure this is enabled. Without it, a long cloudy spell can drain a lead-acid battery flat and damage it.
- Cable size. Long, thin cables lose voltage. Keep the run between battery and camera as short as practical, and use thicker cable for longer runs. The controller manual usually gives a cable size table.
- Fuses. Fit a fuse close to the battery positive terminal. A battery can deliver a very large current into a short circuit.
- Enclosure. Batteries and controllers need a weatherproof, ventilated box out of direct sun. Lead-acid batteries can release gas while charging, so do not seal them in an airtight case.
Step 7: Mount it and test before you trust it
Panel position decides whether all this sizing pays off. Shade costs far more output than cloud, and a panel that is clear at noon in summer can sit in a roof's shadow all winter. The details of direction, tilt and shade checks are in where to mount the solar panel.
Then test before you leave the site for good:
- Fully charge the battery first, from the panel over sunny days or from a proper charger.
- Run the camera and note the battery voltage each morning for a week. Many controllers show it on a display or an app; otherwise use a multimeter.
- If the morning voltage drops a little more each day in normal weather, the system is undersized or the camera draws more than you measured.
- In the camera app, check playback for gaps in the recording, which can point to overnight power cuts. Menu names vary slightly between app versions and models.
Reducing what the camera spends is often cheaper than buying a bigger battery. Lowering recording to motion-only where your model allows it, tightening detection zones and shortening clips all help; how long a solar camera battery lasts covers these settings.
Built-in solar cameras are a different case
Some cameras come with a small panel and a sealed battery and are designed to sleep most of the time, waking only when motion is detected. You do not size anything for these: the maker has matched panel and battery to that low-power design. They do not record around the clock, and they are not meant to power other devices. If one of these stops keeping charge, follow the solar camera not charging checklist rather than adding a bigger battery. For sites with neither power nor internet, see running a camera without WiFi and electricity.
When to get help
Call a qualified electrician or solar installer if:
- you need to connect anything to the building's mains supply, or install an inverter wired into a house circuit;
- the panel must go on a roof or high wall — work at height is dangerous, so switch off power, use proper ladders and fall protection, or leave it to someone equipped for it;
- the battery bank is large, or you are unsure about fusing and cable sizes;
- a battery is swollen, hot, leaking or smells of rotten eggs — disconnect it if safe and do not charge it.
Always disconnect the panel and battery before changing wiring. A panel produces voltage whenever light falls on it, even when the rest of the system is off. Check local rules for any electrical work outdoors.
Install or resell cameras?
When quoting a solar panel cctv job, measure the camera's draw on the bench first and write your assumptions — daily watt-hours, autonomy days, worst-month sun hours — on the quote, so the customer sees why the kit is the size it is. Low-voltage DC cameras usually need a smaller solar kit than mains models, which keeps the quote simpler. Leave a voltage log running for the first week and come back to check it. If you sell or install security cameras and want to discuss supply and dealer terms, see the Yoosee partner information.
Frequently asked questions
Can I just use a car battery for a solar camera?
It will work for a while, but a starter battery is built to give a big burst for an engine, not to be drained slowly every night, so daily cycling wears it out quickly. Choose a deep-cycle lead-acid, AGM or LiFePO4 battery instead.
Do I need a charge controller if the panel is small?
Yes. Without a controller the panel can overcharge the battery on sunny days, and nothing stops the camera from draining the battery completely during a dull spell. Both shorten battery life, and overcharging can be a safety risk. Even small kits should include one.
Can I connect the camera straight to the solar panel without a battery?
No. Panel output swings with every passing cloud and stops at sunset, so the camera would reboot during the day and go dark every night. A battery and controller are needed even for daytime-only use.
Is a bigger panel better than a bigger battery?
They solve different problems. A bigger battery carries you through more dark days in a row; a bigger panel refills the battery faster afterwards and harvests more in dull weather. If the system fails during long grey spells, add battery; if it never fully recovers even after sunny days, add panel.
How do I know if my solar setup is too small?
A falling morning battery voltage over a week of normal weather is the clearest sign. Other clues: the controller's low-voltage disconnect trips before dawn, or recordings stop at the same hour each night. Fix it by cutting the camera's consumption first, then adding panel or battery capacity.